Charging your Tyson vape is essential for maintaining its performance. This guide provides detailed steps, safety tips, and troubleshooting to ensure a seamless experience with your device.
What Are Tyson Vapes?
Tyson Vapes are a range of innovative vaping products endorsed by Mike Tyson, offering high-quality devices like the Tyson 2.0, Round 2, and Heavyweight. These vapes feature USB-C charging, mesh coils, and synthetic nicotine, providing a superior vaping experience with long-lasting performance and convenience.
Key Features of Tyson Vape Devices
Tyson Vape devices stand out with their sleek design, long battery life, and mesh coil technology for consistent flavor. They include USB-C charging for fast and reliable power-ups, LED indicators for charge status, and high puff capacities, such as the Heavyweight model offering up to 7,000 puffs. These features make Tyson Vapes user-friendly and ideal for both experienced vapers and newcomers.

Safety Precautions for Charging Tyson Vapes
Always use the original charger to prevent damage. Avoid overcharging and keep the device away from flammable materials. Ensure the charging area is dry and unplugging when fully charged.
Choosing the Right Charger for Your Tyson Vape
Using the original USB-C charger provided with your Tyson vape is highly recommended to ensure compatibility and safety. Avoid third-party chargers, as they may damage the device or pose a fire hazard. The charging port, typically located at the bottom or side of the vape, is designed for specific cable types, such as USB-C. Always check the user manual for charger specifications, as different Tyson models may have varying requirements. Using an incompatible charger can lead to battery damage or overheating. Prioritize authenticity to maintain your device’s performance and longevity. By selecting the right charger, you ensure efficient charging and protect your Tyson vape from potential harm.
Understanding the Risks of Overcharging
Overcharging your Tyson vape can lead to serious consequences, including battery degradation and reduced lifespan. Leaving the device plugged in beyond its required charge time can cause internal battery stress, potentially resulting in overheating or even failure. It is crucial to disconnect the charger once the battery is fully charged, indicated by the LED light turning solid blue. Prolonged charging can also increase the risk of electrical hazards. To preserve your device’s performance, avoid charging it overnight or for extended periods. Always monitor the charging process and follow the manufacturer’s guidelines to ensure safe and efficient battery maintenance.

Step-by-Step Charging Guide for Tyson Vapes
Locate the USB-C charging port at the bottom of your Tyson vape. Connect the provided cable to a power source and monitor the charging process closely.
Identifying the Charging Port on Your Tyson Vape
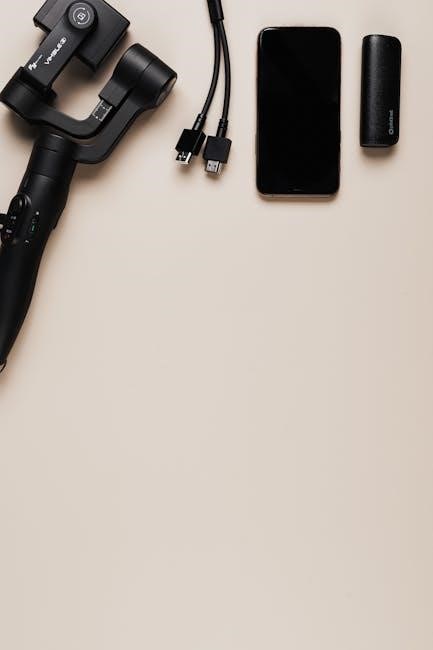
Your Tyson vape features a convenient USB-C charging port, typically located at the bottom or side of the device. To identify it, look for a small, rectangular opening labeled with the USB-C logo. This port is designed for easy access and ensures compatibility with standard USB-C chargers. Before charging, always verify that the port is free from debris or damage, as obstructions can prevent proper charging. For specific models, like the Tyson 2.0 or Iron Mike, the port may vary slightly in position but remains universally compatible with USB-C cables. Refer to your device’s manual for precise location details, as designs may differ across Tyson vape models.
Connecting the Charger and Monitoring the Charge
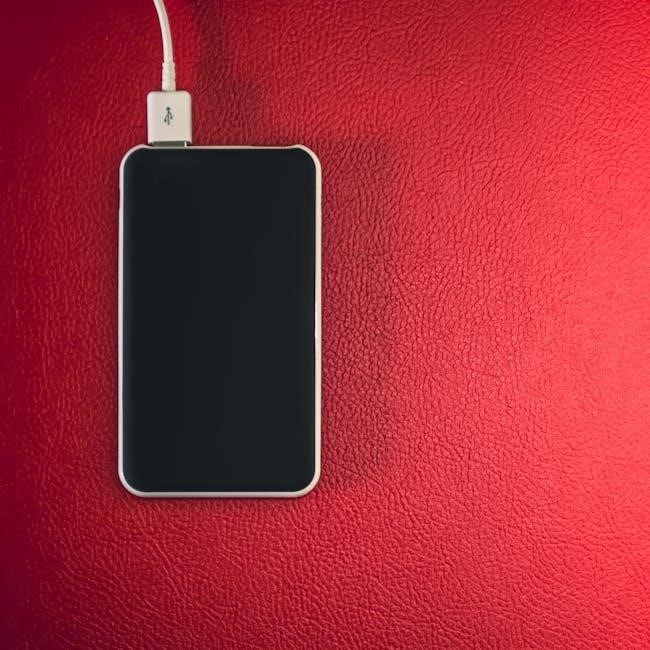
To charge your Tyson vape, insert the USB-C end of the provided cable into the device’s charging port. Plug the other end into a compatible power source, such as a wall adapter or USB port. Once connected, the LED indicator will light up, signaling the start of charging. Monitor the device to ensure it charges efficiently. Avoid overcharging by unplugging once the battery is full, typically indicated by the LED turning off or changing color. For safety, use only the cable provided or a high-quality USB-C alternative to prevent damage. Keep the device upright and away from flammable materials while charging. Proper monitoring ensures optimal performance and extends the lifespan of your Tyson vape. Always follow the manufacturer’s guidelines for safe and effective charging practices.
Charging Time and Indicators for Tyson Vapes
Tyson vapes typically charge within 1-2 hours. LED indicators, such as a solid blue light, signal charging progress. Ensure to monitor until fully charged for optimal performance.
Estimated Charging Time for Different Tyson Vape Models
Tyson vape models vary in charging time based on battery capacity. The Tyson 2.0 typically charges fully in 1-2 hours, while larger models like the Heavyweight may take up to 2.5 hours. Round 2 devices often align with the 1-2 hour range. Using the included USB-C cable ensures optimal charging speed. LED indicators, such as a solid blue light, signal when charging is complete. Avoid leaving devices plugged in overnight to prevent overcharging. Always refer to your specific model’s manual for precise charging times and guidelines to maintain battery health and performance.
Understanding LED Indicators and Charging Status
Tyson vapes feature LED indicators to monitor charging status. A solid blue light typically signifies charging, while a steady green or white light indicates the battery is fully charged. Flashing lights may signal issues, such as a connection problem or overcharging. Always disconnect the device once fully charged to maintain battery health. If the LED does not light up, ensure the charger and port are clean and functioning properly. Refer to your device’s manual for specific LED patterns, as they may vary between models. Properly interpreting these indicators ensures safe and efficient charging, preserving the lifespan of your Tyson vape battery.

Maintenance and Care Tips for Optimal Charging
Regular cleaning of the charging port, using the correct charger, and proper storage are essential for maintaining your Tyson vape’s battery health and ensuring optimal charging performance.
Cleaning the Charging Port and Device
Cleaning the charging port and device is crucial for maintaining optimal charging performance. Use a soft, dry cotton swab to gently remove dirt or debris from the charging port. Avoid using liquids, as they can damage the internal components. For the device’s exterior, wipe it with a soft cloth to prevent dust buildup. Regular cleaning ensures proper connectivity and prevents charging issues. Neglecting this maintenance can lead to poor battery performance or even device malfunction. Always handle the device with care to avoid damage to the charging port or battery. By keeping your Tyson vape clean, you ensure reliable charging and extend the lifespan of your device.
Proper Storage to Preserve Battery Life
Proper storage is essential to maintain your Tyson vape’s battery health. Store the device in a cool, dry place, away from direct sunlight and extreme temperatures. Avoid leaving it in cars or humid environments, as this can degrade the battery. When not in use, keep the vape in its original case or a protective pouch to prevent physical damage. Ensure the device is charged to at least 50% before long-term storage to prevent deep discharge, which can harm the battery. Avoid storing it in pockets or purses where it may be accidentally activated. By following these storage tips, you can extend the lifespan of your Tyson vape’s battery and ensure optimal performance when in use.
Troubleshooting Common Charging Issues
Identify issues like faulty chargers or ports. Clean the charging port and ensure proper connections. Check LED indicators for charging status and consult the user manual for specific solutions.
Why Your Tyson Vape Might Not Be Charging
Your Tyson vape may not charge due to a faulty or damaged charging port, a defective cable, or improper connection. Debris in the port can block the charger from making contact. Additionally, using an incompatible charger or a power source with insufficient output can prevent charging. Over time, the battery may degrade, reducing its ability to hold a charge. It’s also possible that the device’s internal circuitry has malfunctioned. To resolve this, inspect the port, clean it gently, and try a different charger or cable. If issues persist, consult the user manual or contact customer support for assistance.
Fixing Common Problems with the Charging Process
If your Tyson vape isn’t charging, start by inspecting the charging port for debris or damage. Clean it gently with a soft cloth or small brush to ensure proper contact. Next, try using a different USB-C cable or charger to rule out issues with the current one. Ensure the charger is compatible with your device and that the power source is working. If the problem persists, check the device’s battery health or reset it by unplugging and reconnecting the charger. For persistent issues, refer to the user manual or contact customer support for further assistance. Always prioritize safety and avoid using damaged cables or chargers to prevent further complications.
Frequently Asked Questions About Tyson Vape Charging
Common questions about Tyson vape charging include optimal charging times, indicator meanings, and safety tips. This section addresses these inquiries to ensure a smooth experience for users.
Is It Safe to Charge My Tyson Vape Overnight?
Charging your Tyson vape overnight is generally not recommended. Most models charge fully within 1-2 hours, and leaving it plugged in longer can risk overcharging, which may damage the battery or cause overheating. Overcharging can reduce the lifespan of your device’s battery and potentially pose safety hazards. To maintain optimal performance and safety, unplug your Tyson vape once it is fully charged. If you must charge it overnight, ensure you use a high-quality charger and keep an eye on the device to avoid any unexpected issues. Always follow the manufacturer’s guidelines for charging times and safety precautions to protect your device and ensure a seamless vaping experience.
How Do I Know When My Tyson Vape Is Fully Charged?
Your Tyson vape typically features an LED indicator to signal its charging status. When you plug it in, the LED light may flash or display a specific color, such as blue, to indicate charging. Once the device is fully charged, the LED light will usually turn solid or change color, often to green or stop flashing altogether. Some models may also have a battery indicator that shows 100% charge. Refer to your device’s user manual for specific details, as indicators can vary by model. Always monitor the charging process to avoid overcharging, which can harm the battery. Properly charged, your Tyson vape will be ready for use, ensuring a consistent and enjoyable vaping experience. Be mindful of the charging time, typically between 1 to 2 hours, to maintain optimal performance. Keep your device charged correctly to preserve its longevity and functionality.